How to Choose the Right Machine Safety Fence?
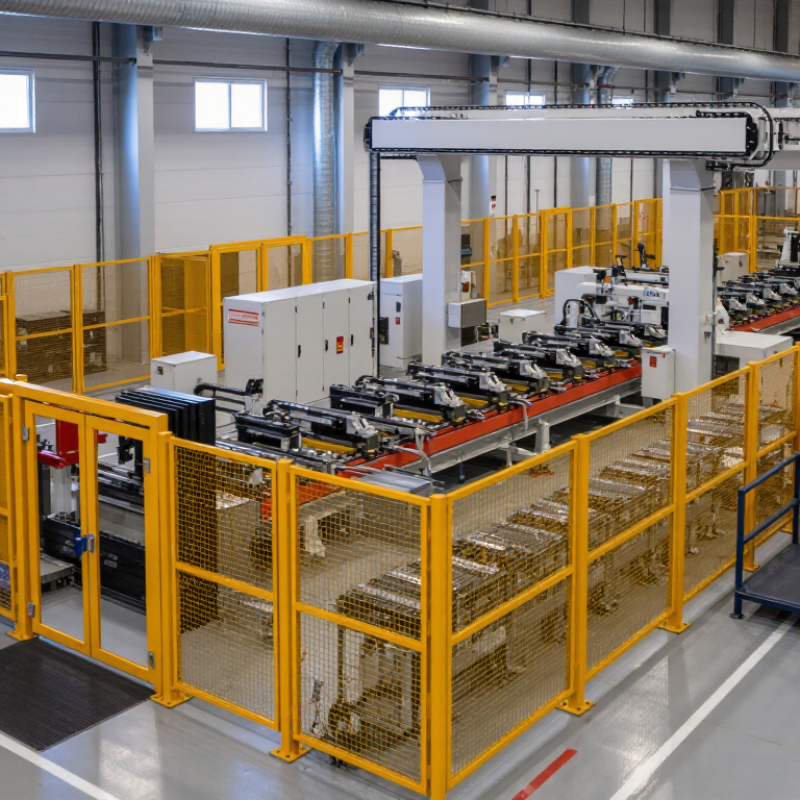
Choosing the right Machine Safety Fence begins with understanding the machine, not browsing attractive panels. A fence must match the robot’s reach, stored energy, access points, production rhythm, and maintenance needs. A bright yellow mesh enclosure may look reassuring, yet poor gate placement can create daily frustration. Workers may then bypass it. That is a real failure.
Fred A. Manuele, a respected safety engineer and author, stated, “Risk assessment must precede risk reduction.” This principle belongs at the center of every Machine Safety Fence decision. Measure the hazard zone carefully. Check where an operator stands, reaches, cleans, and resets equipment. Consider falling parts, noise, visibility, emergency access, and the space required for tools. Small gaps matter. A swinging gate can also become an obstruction during maintenance.
The strongest solution is rarely the most expensive one. It is the solution that controls access without slowing legitimate work. Fixed panels, interlocked doors, sliding gates, and transparent sections each serve different conditions. However, no fence can replace proper safeguarding design, inspection, training, and documented risk review. That point is sometimes overlooked.
There is no perfect fence.
A practical selection process should compare safety performance, durability, installation time, future expansion, and cleaning requirements. Stainless steel may suit corrosive environments, while coated steel often fits general factory floors. Still, assumptions can fail. A design that works beside one press may be unsuitable near another. Verify dimensions on site, involve the people who use the machine, and review the arrangement after installation. The right Machine Safety Fence protects people while supporting reliable production.
Define the Safety Risks Around the Machine
Choosing a machine safety fence should begin with the hazards around the machine, not the fence dimensions. Watch the full work cycle: loading, unloading, cleaning, adjustment, and fault recovery. A rotating shaft may be guarded, while a nearby pinch point remains exposed. That gap matters.
OSHA’s Fiscal Year 2024 enforcement data recorded 1,370 machine-guarding violations. The figure shows a persistent workplace risk, not merely a compliance issue. Identify where hands, clothing, tools, or materials can enter danger zones. Measure stopping distances, access frequency, visibility needs, and maintenance routes. ISO 12100 recommends assessing hazards throughout the machine’s lifecycle, including foreseeable misuse. A fence that blocks production access may encourage unsafe bypassing.
Walk the area with operators and maintenance staff. Ask where they step during jams. Look for footprints, worn paint, improvised openings, and doors left unsecured. These details often reveal the real exposure better than drawings. A risk assessment can still miss a hazard. Mine once did, because the analysis focused on normal operation and ignored a sensor reset position. That assumption was wrong. Include interlocked gates, suitable mesh openings, and a controlled access process. Consider impact energy and the possibility of objects being ejected. The safest layout is not always the neatest one. Reference: OSHA, FY2024 Top 10 Frequently Cited Standards; ISO 12100:2010.
