
10 Tips for Choosing the Best French Patio Doors?
Choosing the right French patio doors can change how a room feels, works, and connects with the outdoors. Bright glass may invite morning light, while narrow frames can make a small living area appear wider. However, attractive design alone does not guarantee comfort or durability. Door placement, insulation, security hardware, weather exposure, and daily traffic all deserve careful attention.
This guide presents 10 practical tips for comparing French Doors Patio Doors with confidence. It considers frame materials, glass performance, threshold design, swing clearance, maintenance, and installation quality. Manufacturer specifications matter, but real-world details matter too. A door facing strong afternoon sun may need different glass than one opening onto a shaded garden. Homes near the coast also require finishes that resist moisture and salt.
Small choices matter.
Reliable recommendations should come from tested performance data, clear warranties, and experienced installers. Look for published U-values, air-leakage ratings, and impact information where relevant. Confirm that the chosen configuration suits your wall structure and climate. A low price can become expensive when hinges sag, seals fail, or water reaches the interior floor. Still, no guide can predict every home perfectly. Measurements can be missed, and personal preferences sometimes outweigh technical ideals. Review the details twice, ask direct questions, and compare samples in natural light before making a final decision.
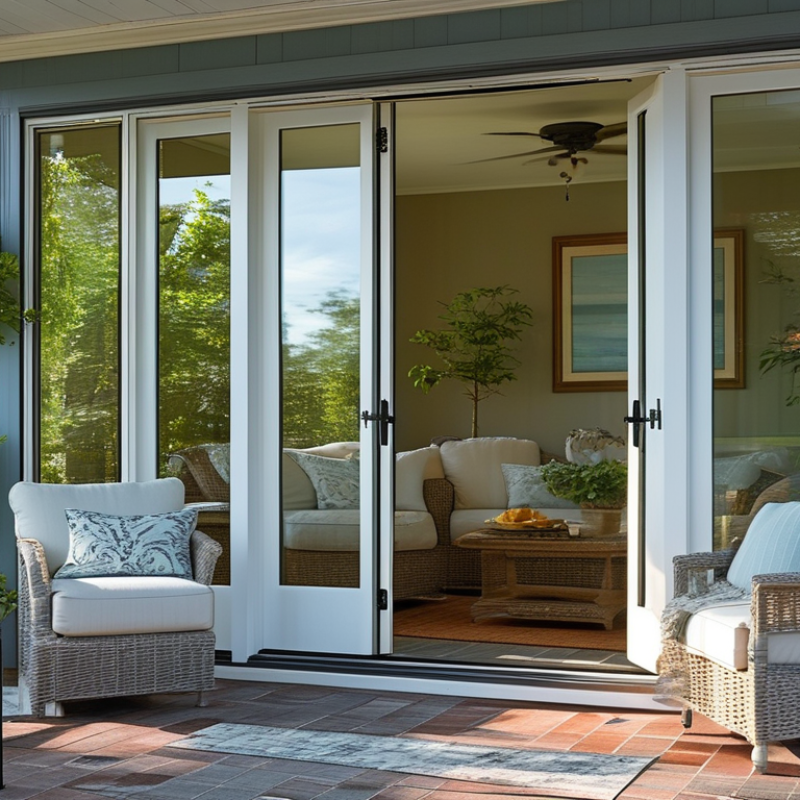
Understanding French Patio Door Designs and Opening Configurations
10 Tips for Choosing the Best French Patio Doors
French patio doors combine traditional proportions with flexible opening configurations.
Tip 1: Measure the rough opening, not only the visible frame.
Tip 2: Choose inswing panels when exterior space is limited.
Tip 3: Consider outswing panels for rooms with narrow furniture layouts.
Tip 4: Select a center-hinged pair for a balanced, classic appearance.
A beautiful layout can still be inconvenient.
Tip 5: Check the active panel direction against daily traffic.
Tip 6: Confirm whether both panels open or only one operates.
Tip 7: Compare double-glazed and triple-glazed units for your climate.
The U.S. Department of Energy reports that windows can cause 25–30% of residential heating and cooling energy use.
Tip 8: Review U-factor, solar heat gain coefficient, and air-leakage ratings through National Fenestration Rating Council documentation.
Lower U-factors generally improve insulation.
Tip 9: Inspect threshold height, drainage paths, and compression seals before installation.
These details affect comfort during heavy rain and winter winds.
Tip 10: Test the handle, hinges, and locking points in person.
Smooth movement matters.
I would not choose a door from photographs alone.
The National Fenestration Rating Council explains that certified ratings help compare products under consistent testing conditions.
Still, installation quality can weaken excellent performance.
Ask for site-specific flashing details, wall alignment checks, and a written adjustment plan.
